
In a world where nutrition meets convenience, finding healthy snacks that fuel your body without compromising on taste can feel like a treasure hunt. enter the DIY low-carb protein bar-a simple, satisfying solution that puts you in control of every wholesome ingredient. Whether you’re an avid fitness enthusiast, a busy professional, or someone simply looking to curb hunger without the sugar crash, these homemade bars offer a flavorful way to stay energized. in this article, we’ll explore how crafting your own low-carb protein bars not only supports your health goals but transforms snack time into a creative, guilt-free experience. Ready to roll up your sleeves and snack smarter? Let’s dive in.
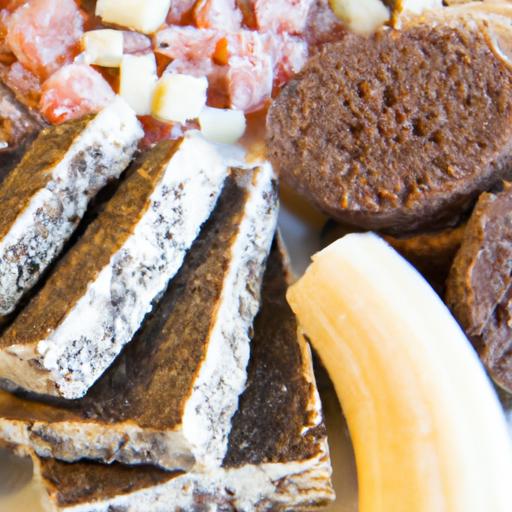
DIY Low-Carb protein Bars offer an unbeatable combination of nutrition and flavour, crafted right in your kitchen. Perfect for busy days or post-workout fuel, these bars allow you to control every ingredient, ensuring optimal protein content without the unneeded carbs or preservatives found in store-bought options. Inspired by a desire to blend convenience with wholesome nourishment, creating your own bars encourages culinary creativity and customization that keep your taste buds excited and your energy sustained.
Prep and Cook Time
- Preparation: 15 minutes
- Setting Time (Refrigeration): 1 hour
- Total Time: 1 hour 15 minutes
yield
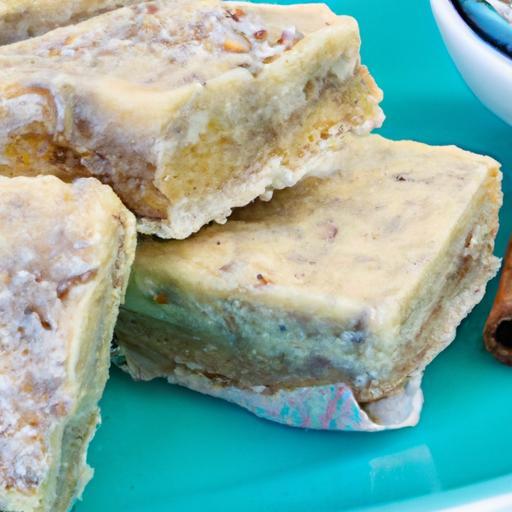
8 bars (approximately 60 grams each)
Difficulty Level
Easy – Perfect for beginners and experienced home cooks alike
Ingredients
- 1 ½ cups raw mixed nuts (almonds, walnuts, pecans), roughly chopped
- 1 cup unsweetened shredded coconut
- ½ cup natural peanut butter or almond butter (no added sugar)
- ½ cup whey protein isolate (vanilla or unflavored)
- ¼ cup ground flaxseed
- ⅓ cup sugar-free syrup or liquid stevia (adjust to taste)
- 1 tsp pure vanilla extract
- Pinch of sea salt
- Optional: 2 tbsp sugar-free dark chocolate chips or cacao nibs for texture and flavor
Instructions
- Prepare your dry ingredients: In a large bowl, combine the chopped nuts, shredded coconut, whey protein isolate, ground flaxseed, and a pinch of sea salt.Stir well to evenly distribute all dry elements.
- Mix the wet ingredients: In a microwave-safe bowl, gently warm the peanut or almond butter with the sugar-free syrup for about 20 seconds until slightly softened. Stir in the vanilla extract until smooth.
- Combine wet and dry: Pour the wet mixture over the dry ingredients. Use a sturdy spatula or your hands to fold everything together thoroughly. The mixture should be sticky but firm enough to hold its shape.If too dry,add a teaspoon more syrup or nut butter; if too wet,sprinkle in extra protein powder.
- Add flavor and texture: Fold in sugar-free chocolate chips or cacao nibs now, if using, for an irresistible crunch and a hint of bittersweet indulgence.
- Shape the bars: Line a square baking pan (8×8 inches) with parchment paper. Press the mixture firmly into the pan, using the back of a spoon or your palms to compact it tightly. This ensures the bars don’t crumble after setting.
- refrigerate: Cover the pan and chill in the fridge for at least 1 hour or until firm.This step is key to achieving that perfect bar texture.
- Cut and store: Once set, lift the parchment out and slice into 8 even bars. Enjoy instantly or store as described below.
Tips for Success
- Personalize your protein: Experiment with plant-based protein powders like pea or rice protein for a dairy-free option.
- Nut-free alternative: Use sunflower seed butter or tahini if you have nut allergies to maintain creamy binding.
- Sweetness control: Adjust syrup quantity or swap entirely for monk fruit sweetener to keep carbs minimal.
- Preventing crumble: If bars tend to fall apart,increase nut butter slightly and ensure compact pressing in the pan.
- Make-ahead tip: These bars keep well for up to one week refrigerated and freeze beautifully for up to 3 months-perfect for batch prepping.
Serving Suggestions
Serve bars chilled or at room temperature as a rapid snack or energizing breakfast. Garnish with a sprinkle of finely chopped nuts or a light drizzle of melted sugar-free chocolate for an elegant touch. Pair with a cup of black coffee or an herbal iced tea to create a balanced, satisfying mini-meal.

Nutritional Data per bar
| Calories | Protein (g) | Carbs (g) | Fat (g) |
|---|---|---|---|
| 220 | 18 | 5 | 14 |
Discover more wholesome snack ideas in our Healthy Low-Carb Snacks Collection. For scientifically-backed benefits of protein supplementation in meals,visit the National Institutes of Health study on protein intake.
Q&A
Q&A: DIY Low-Carb Protein Bars – Healthy Snacks Made Simple
Q1: What makes a protein bar low-carb, and why is that beneficial?
A: A low-carb protein bar minimizes sugars and starchy ingredients, focusing rather on protein, healthy fats, and fiber. This combination helps keep blood sugar stable, curbs cravings, and supports energy levels without the crash often caused by high-carb snacks. Perfect for anyone looking to fuel their day with clean, sustained energy!
Q2: Can I really make protein bars at home without complicated ingredients?
A: Absolutely! DIY low-carb protein bars thrive on simplicity. With staples like nut butters,seeds,unsweetened protein powder,and natural sweeteners such as stevia or erythritol,you can whip up nutritious bars in no time. Plus, you control exactly what goes in-no mystery additives here!
Q3: How customizable are these bars?
A: Think of your kitchen as a flavor lab! you can mix and match nuts, spices, extracts (vanilla, almond), and even unsweetened cocoa to suit your taste buds. Want a crunchy bar? Add toasted seeds or chopped nuts. Prefer chewy? Incorporate shredded coconut or nut butters. The options are as limitless as your creativity.
Q4: how long do homemade low-carb protein bars last?
A: Since these bars avoid preservatives, they’re best enjoyed within a week if stored in the fridge. For longer storage, pop them in the freezer-individually wrapped-to keep them fresh and ready whenever hunger strikes.
Q5: Are these bars suitable for all diets?
A: Most definitely! Low-carb protein bars naturally align with keto and paleo diets, and with the right ingredient swaps (like using plant-based protein powder), they can be vegan-pleasant too. They’re a versatile snack that fits neatly into many healthy lifestyles.
Q6: What’s the easiest way to ensure these bars hold together without baking?
A: The magic lies in sticky binders like almond butter, coconut oil, or even mashed avocado. These ingredients glue everything together so your bars stay firm and portable-no oven required!
Q7: Any tips for making these bars kid-friendly?
A: Keep the flavors mild and sweeten gently with natural options like monk fruit or a touch of honey (if allowed). Adding fun mix-ins like mini sugar-free chocolate chips or finely chopped dried berries can make snack time exciting and nutritious.
Q8: how can these bars help with weight management?
A: By delivering protein and healthy fats with minimal carbs, these bars promote fullness and help regulate appetite.Snacking smartly on them can prevent overeating later and keep your metabolism humming.
Q9: Can these bars replace a full meal?
A: While they’re packed with nutrients, low-carb protein bars are best as a snack or quick energy boost, not a full meal replacement. That said, pairing them with a piece of fruit or some veggies can round out your mini-meal perfectly.
Q10: What’s the best way to get started?
A: Start simple-gather your favorite nuts, protein powder, and a binder. Experiment with small batches, tweaking flavors and textures until you hit your personal perfect bar. Before you know it, you’ll be a homemade snack pro, enjoying guilt-free treats anytime!
To Wrap It Up
Whipping up your own low-carb protein bars isn’t just a satisfying kitchen adventure-its a powerful step toward nourishing your body on your terms. By blending wholesome ingredients with a dash of creativity, you transform simple snacks into personalized fuel that supports your health goals. So next time hunger strikes, you’ll have a delicious, nutrient-packed treat waiting-no artificial additives or mystery ingredients involved. Embrace the simplicity, savor the flavor, and enjoy the confidence that comes with knowing exactly what’s inside every bite. Your body-and your taste buds-will thank you.